


HP MicroServer G7 N54L (XPEnology)
HP MicroServer G7 N54L with XPEnology (aka Synology) 
Actually this is rather an old article which I did it last year around Oct'2013, just that was really busy and no time to post it ...
Alright now rewind back to Oct'2013  ...
...
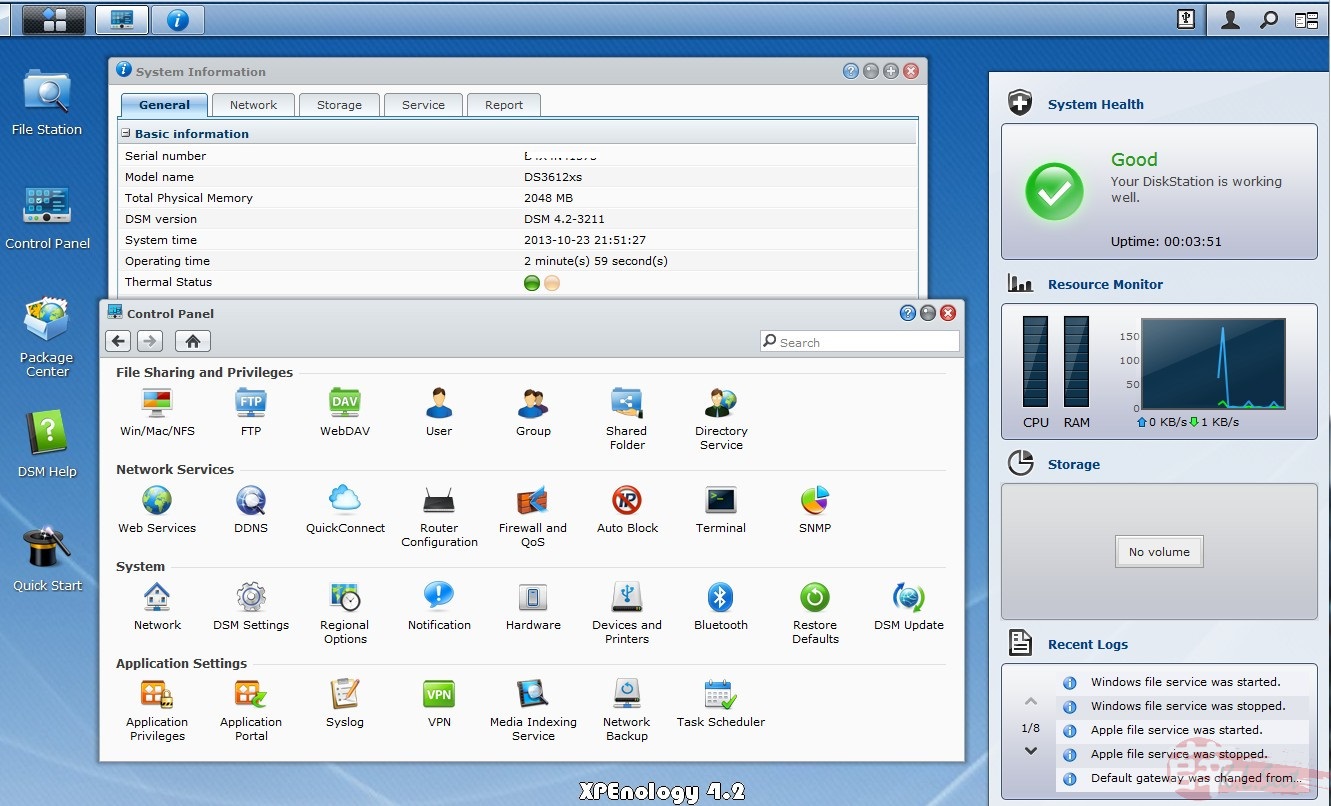
Been reading the XPEnology installation on non-ori-Synology devices for quite some time, so I decided to give it a try on the affordable 4-bays HP MicroServer G7 N54L
I was hunting around KL but to no avail, even went to the HP center in LowYat Plaza also "Sold-Out" 
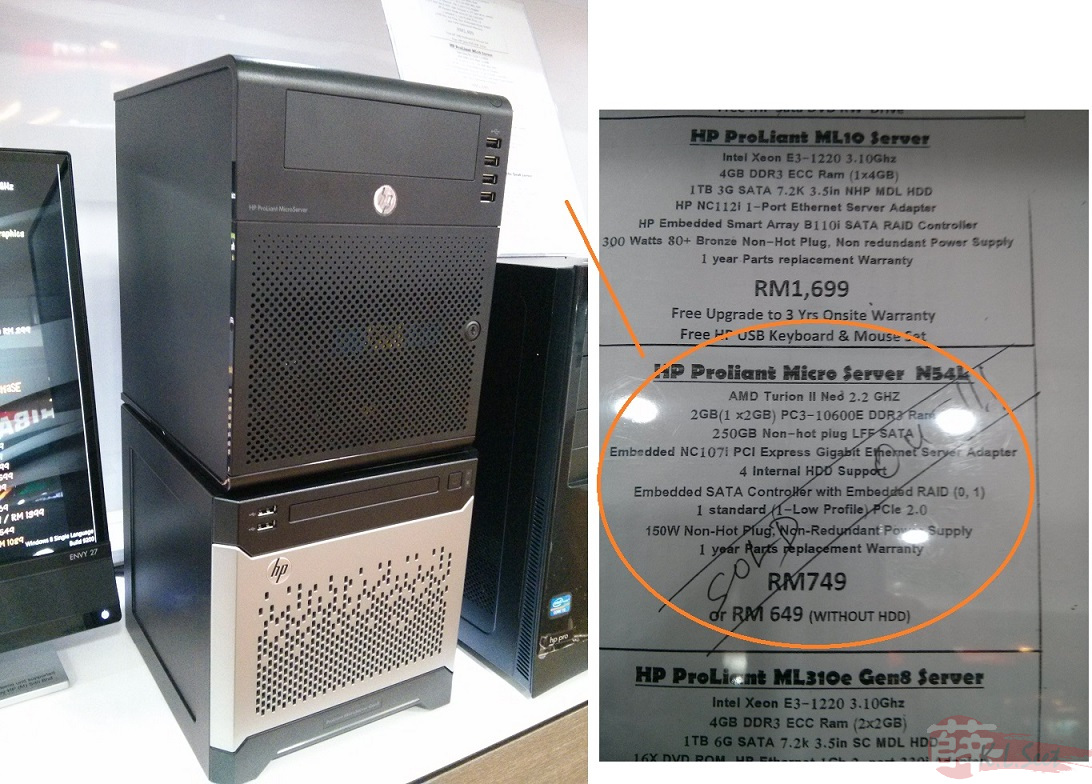
But, through my "jalan" (connection), still manage to grab 1 
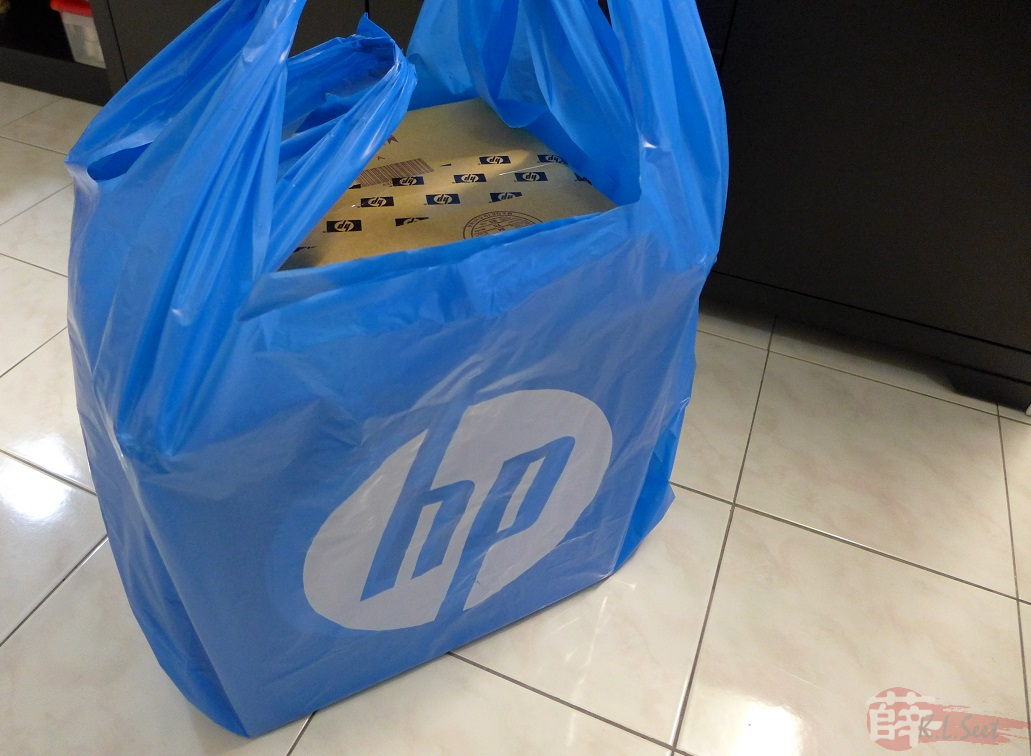
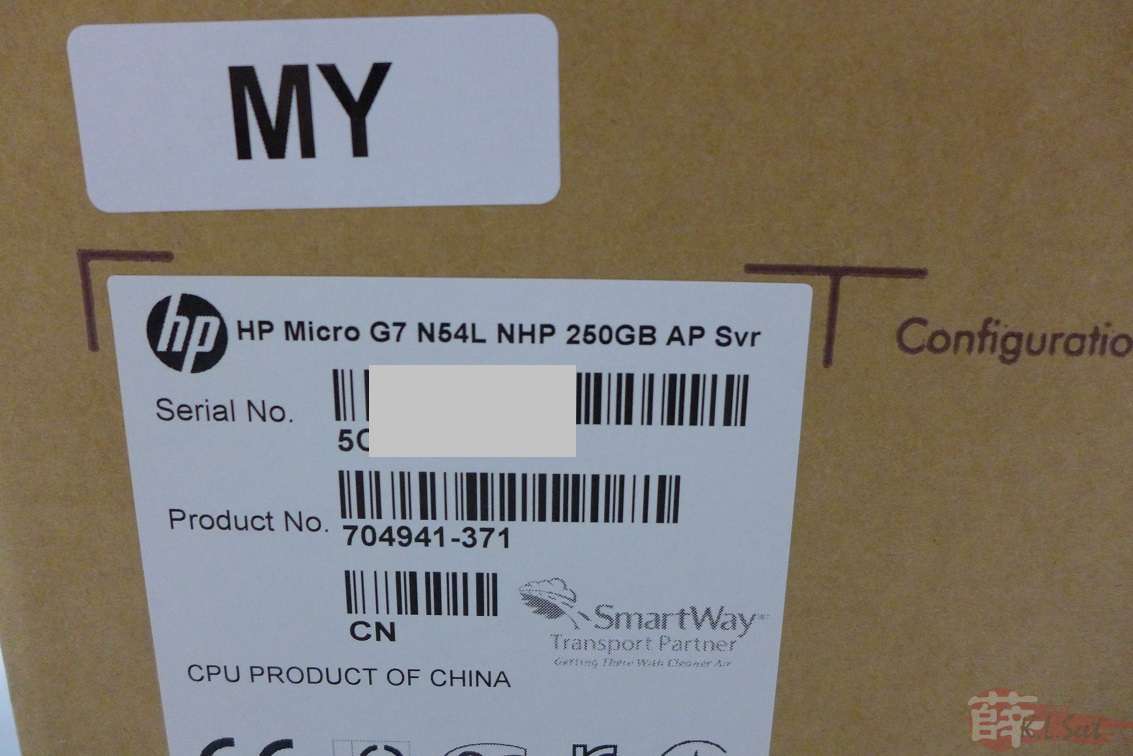
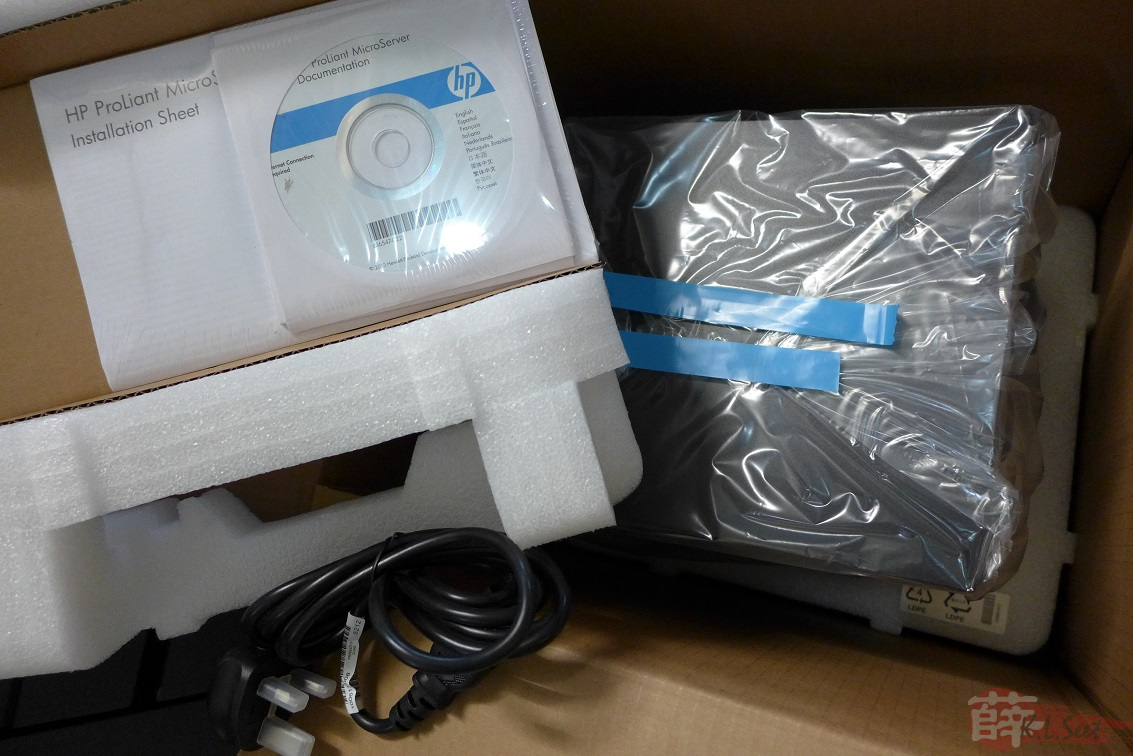
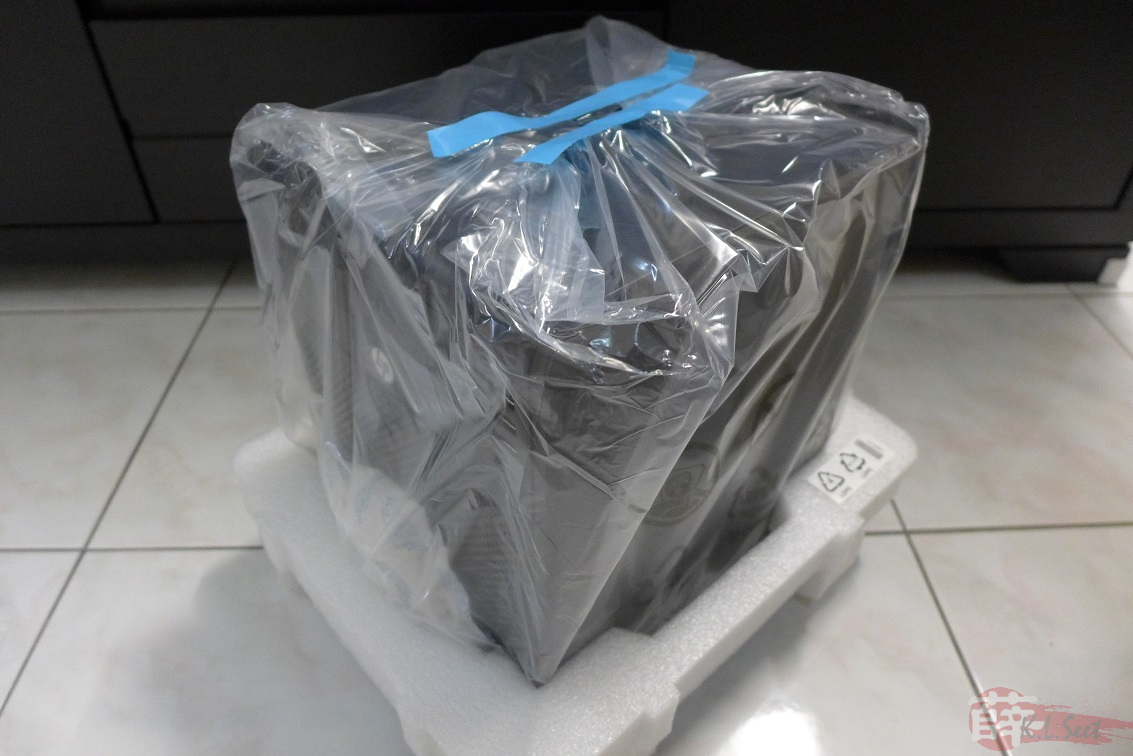
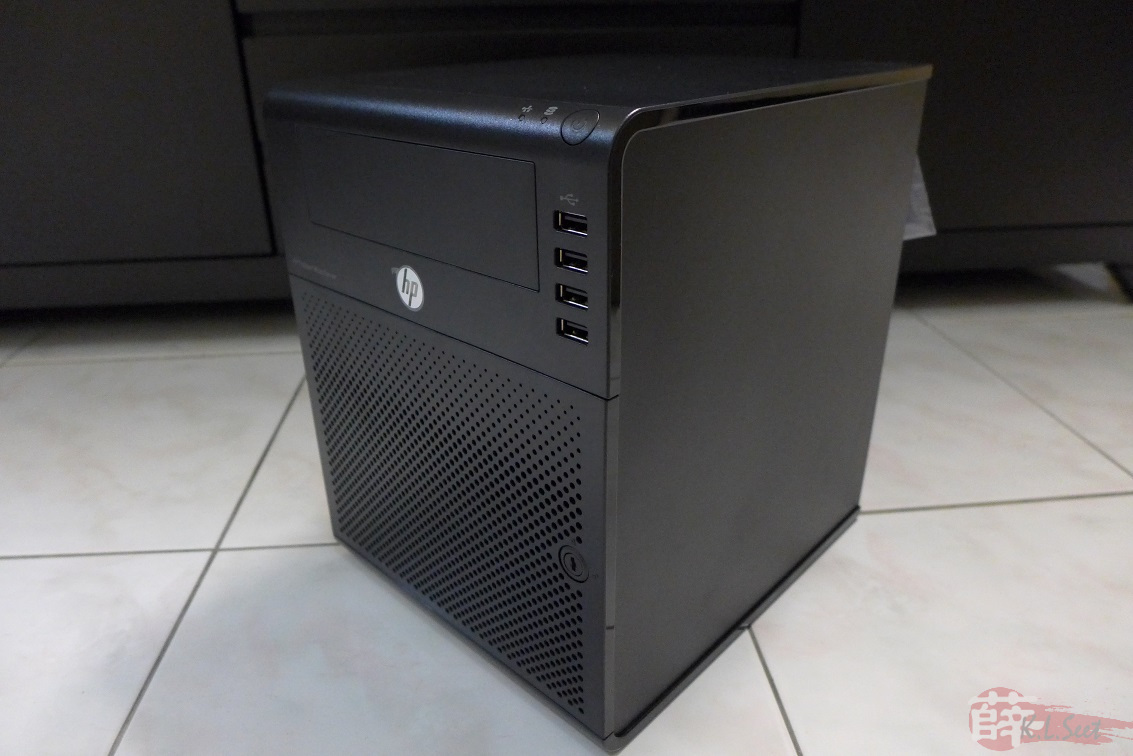
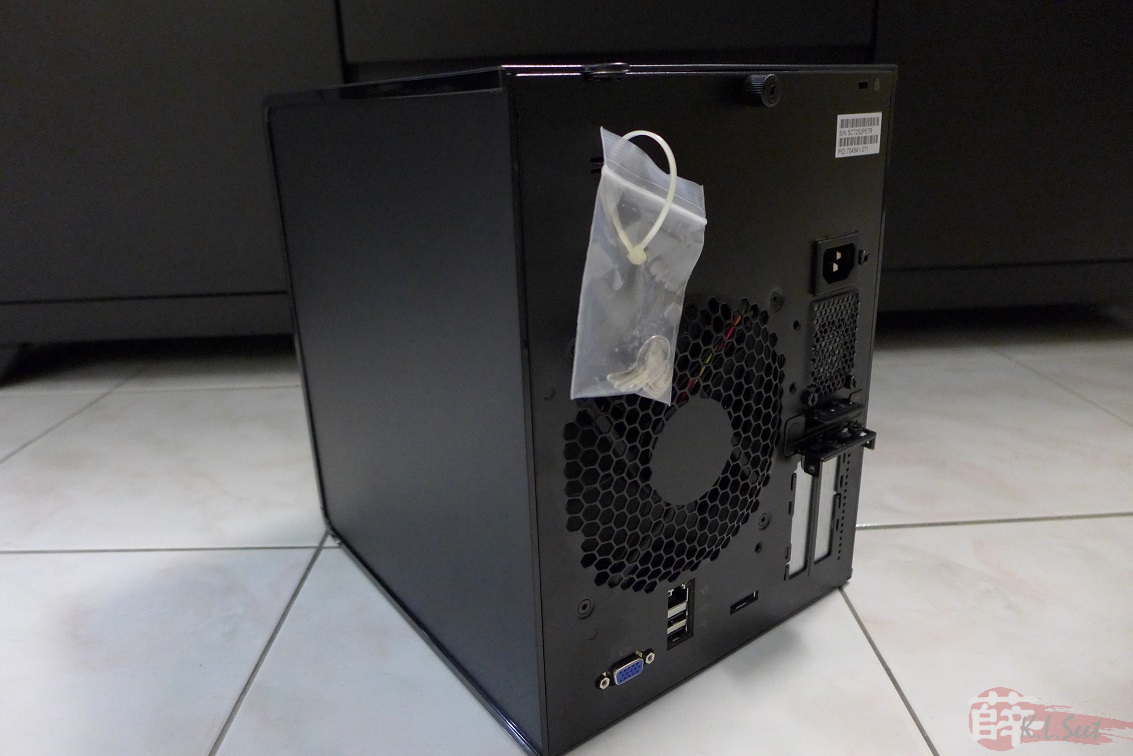
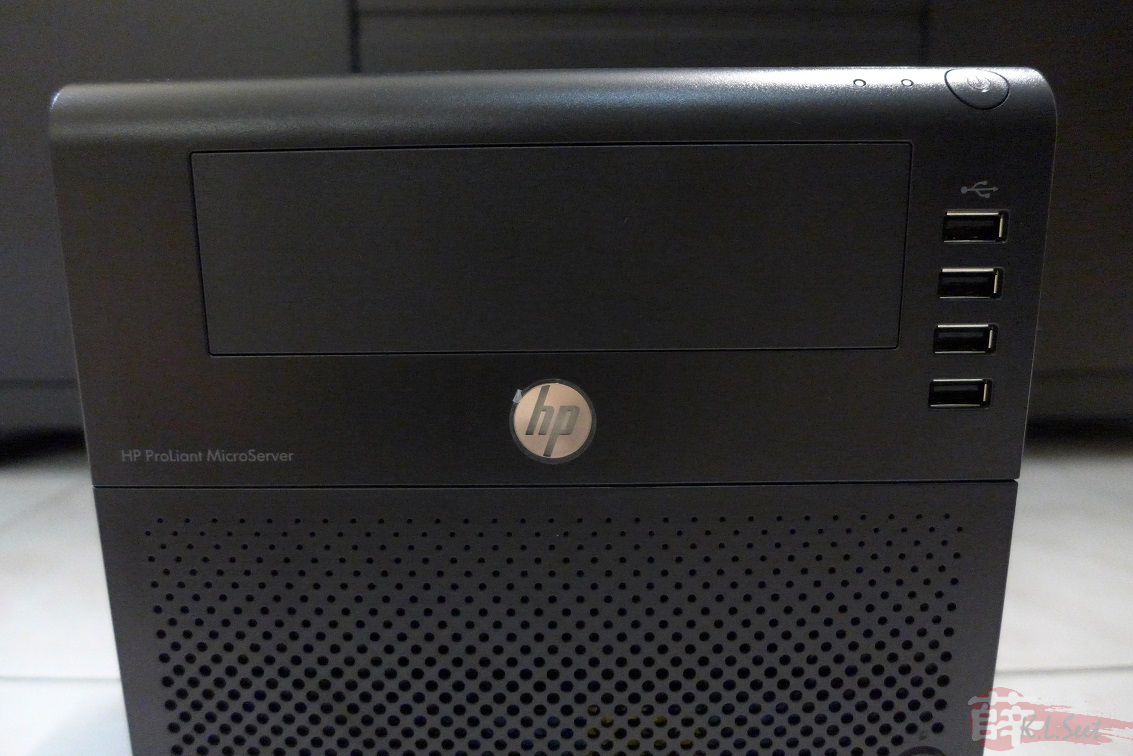
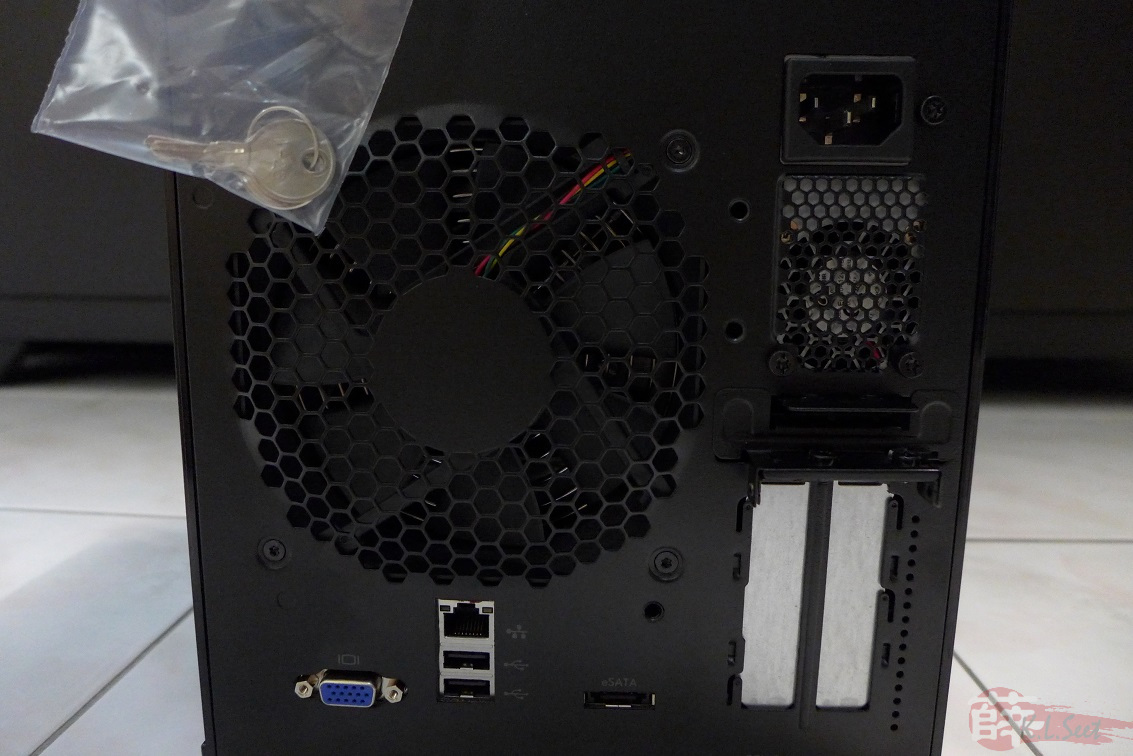
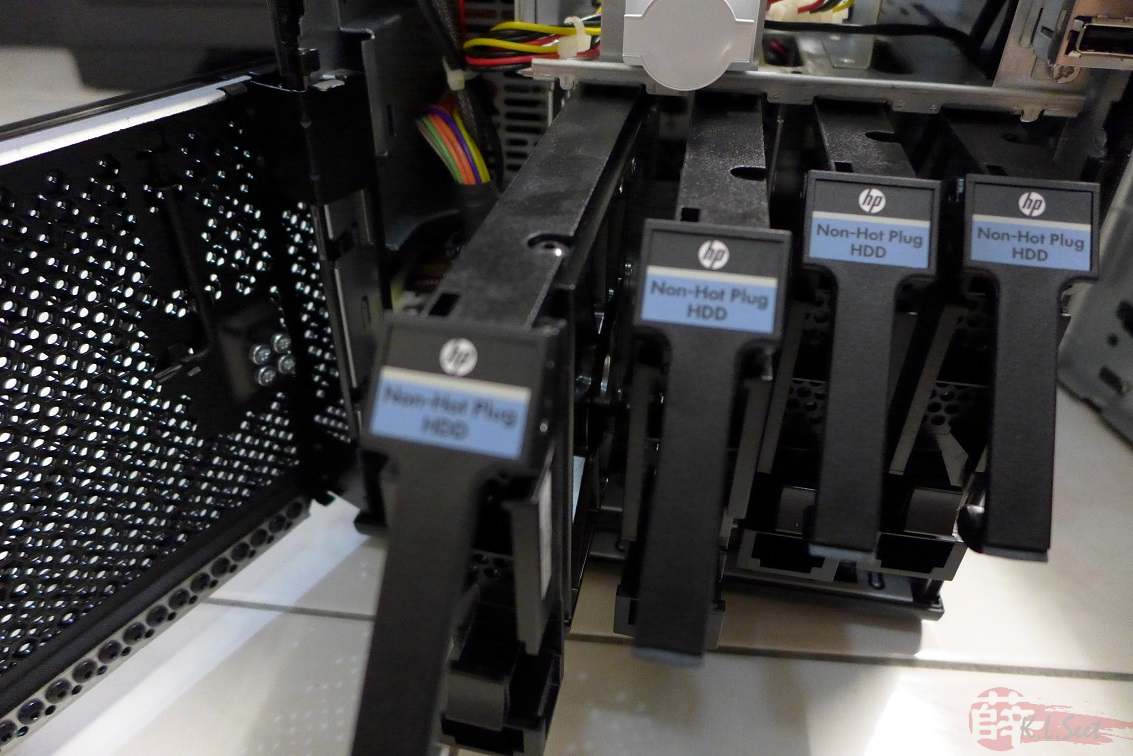
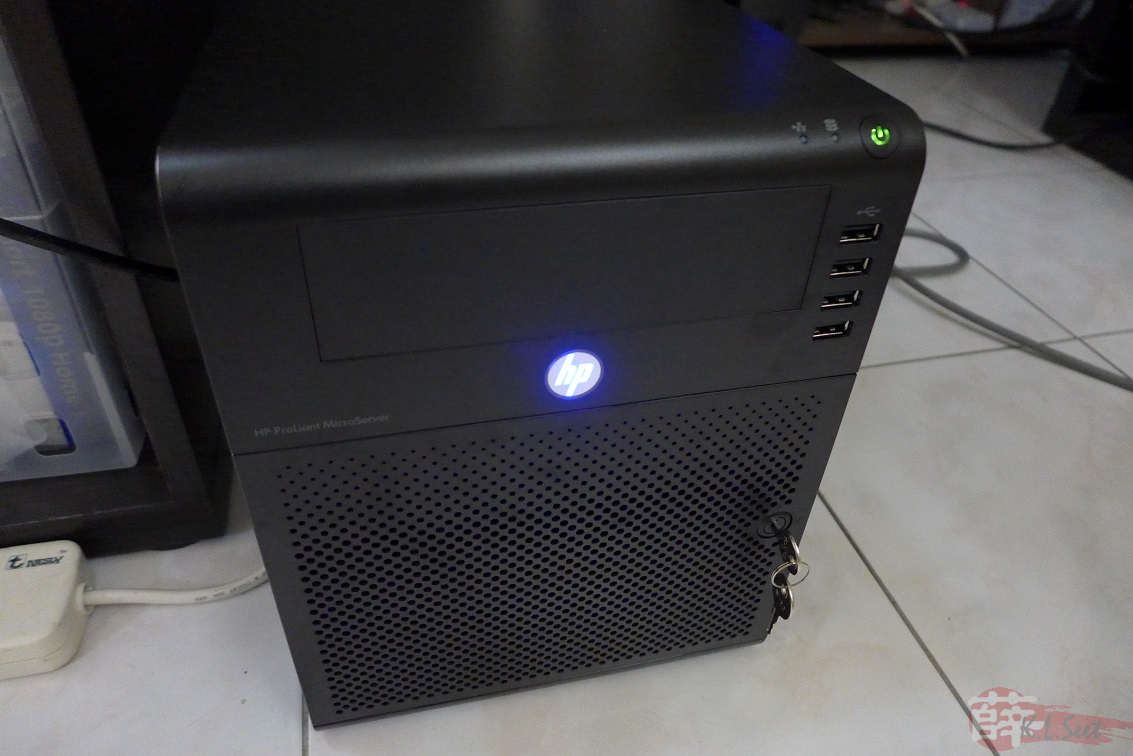
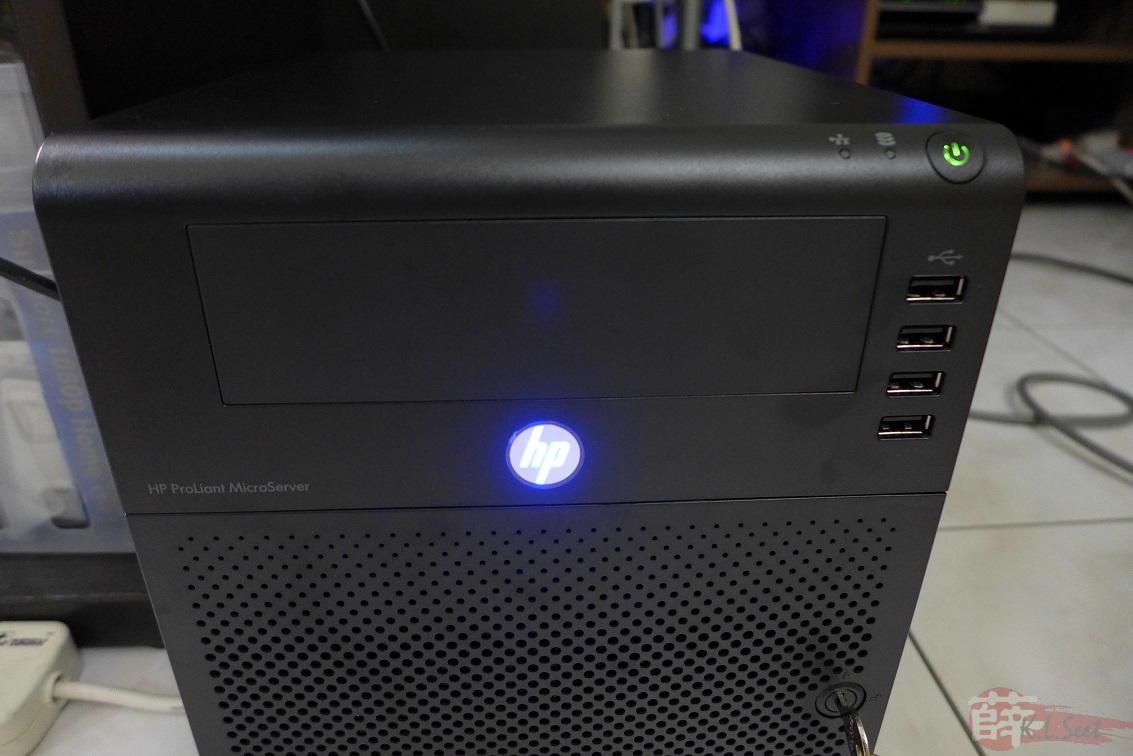
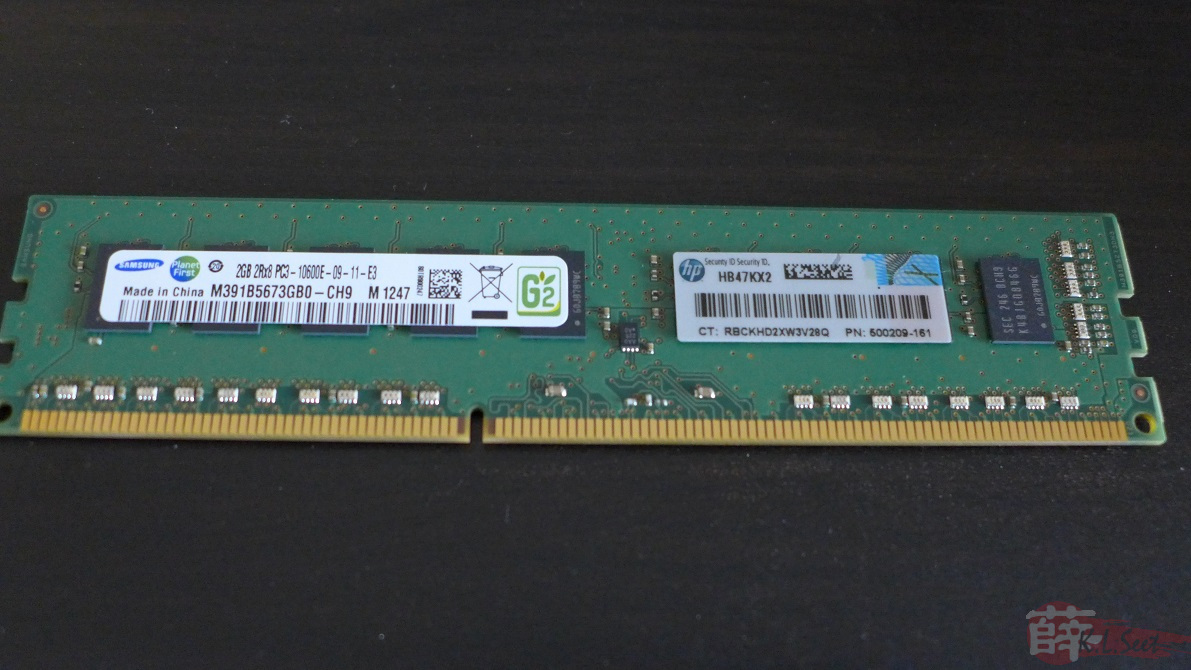
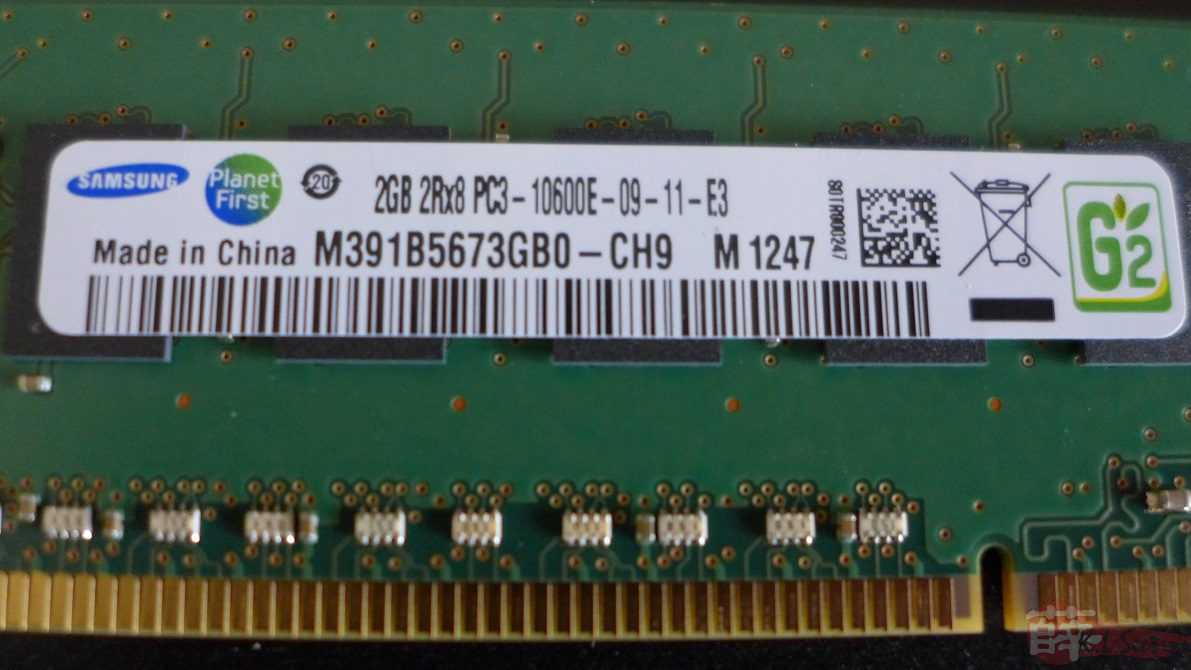
Some product photos ...
                      |
There are quite some discussion topics on how to install & setup the N54L on XPEnology forum, basically I just followed this one :
Posted by ocq (20 Oct 2013 09:51) --> http://xpenology.com/forum/viewtopic.php?f=2&t=1316&start=30
Thanks & credits to those sifu over there 
The instruction & steps above is pretty clear & straight forward, basically I just followed it through and able to port XPEnology 4.2 on my 1st N54L without much problem
About the HEX change, first need to access the N54L's BIOS and write down the device MAC address: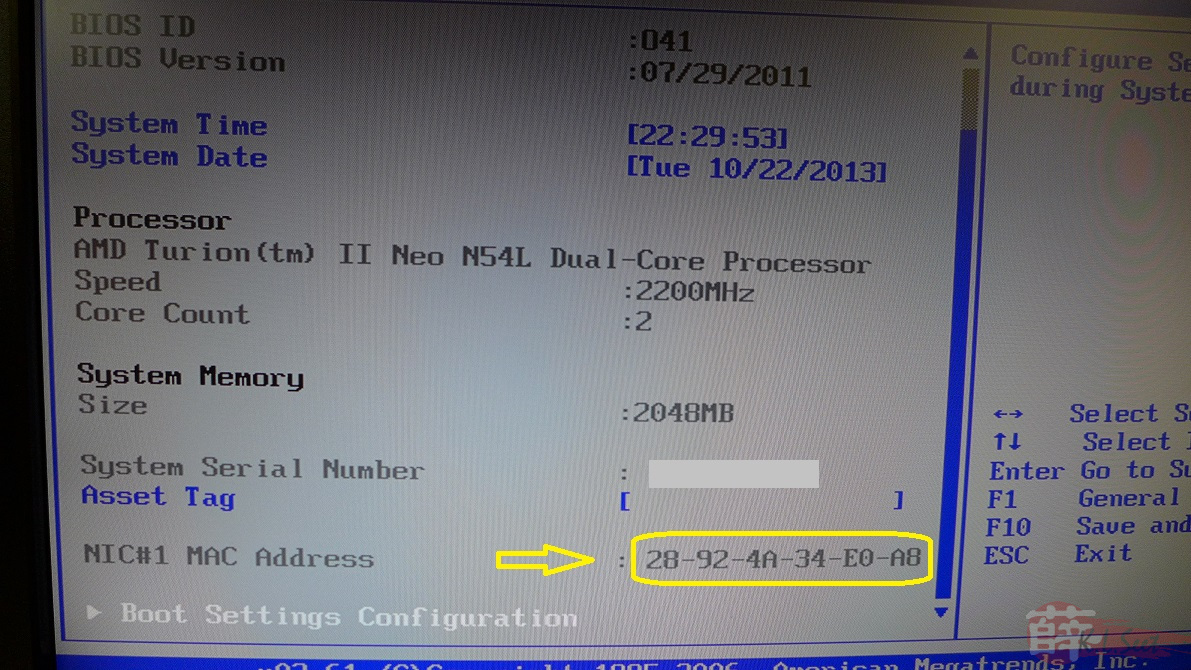
On the Excel worksheet, just enter the device's MAC address & hit F9 to generate HEX codes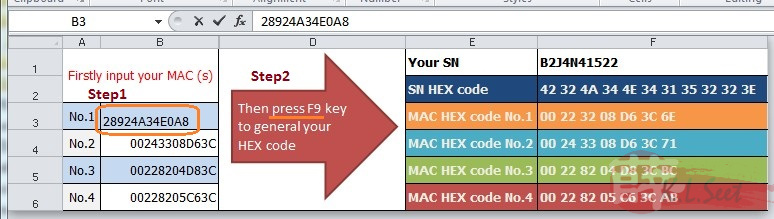
Next is to download the right build (I used the "DS3612xs_3211-repack-trantor-v1.2" build), then create the bootdisk on a USB thumdrive (I used a 4GB thumdrive)
To access the USB bootup disk (ext2), I used Ext2Fsd software installed on Win7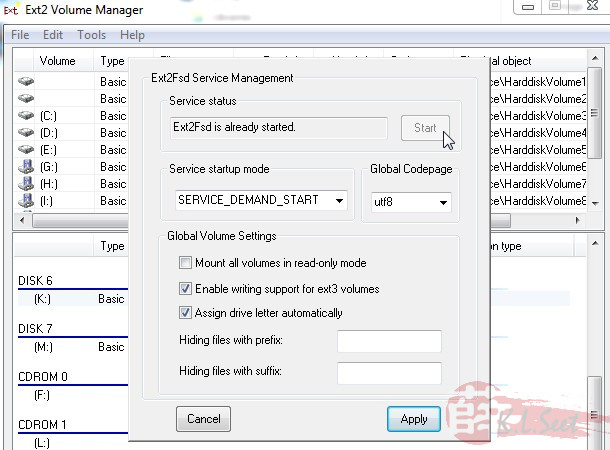
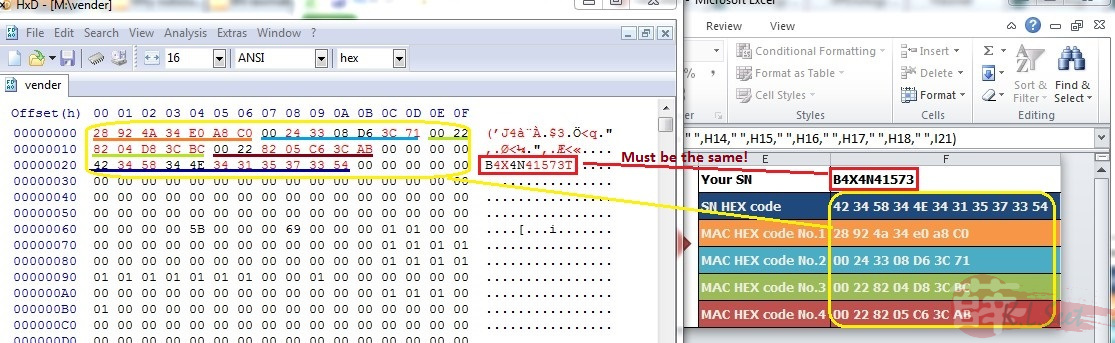
To HEX edit the "vender" file, I use HxD-Hexeditor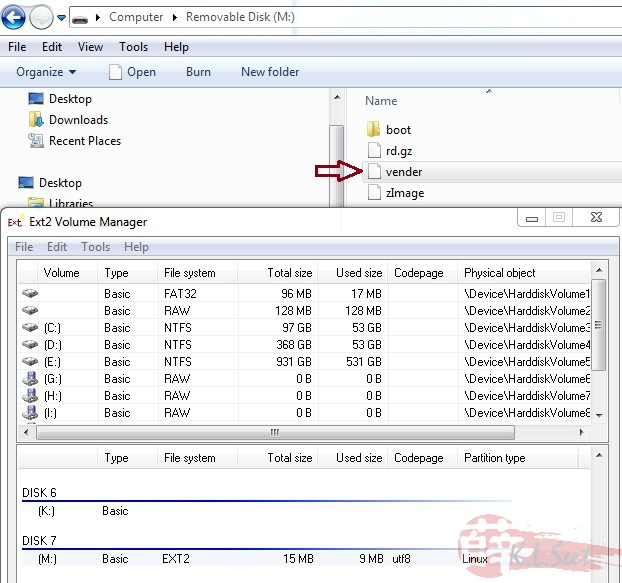
This part is tricky, just change the first 4 MAC hex codes in sequence order, last change the SN hex code
Once changed correctly, noticed the hex SN number will be the same as per the Excel like this:
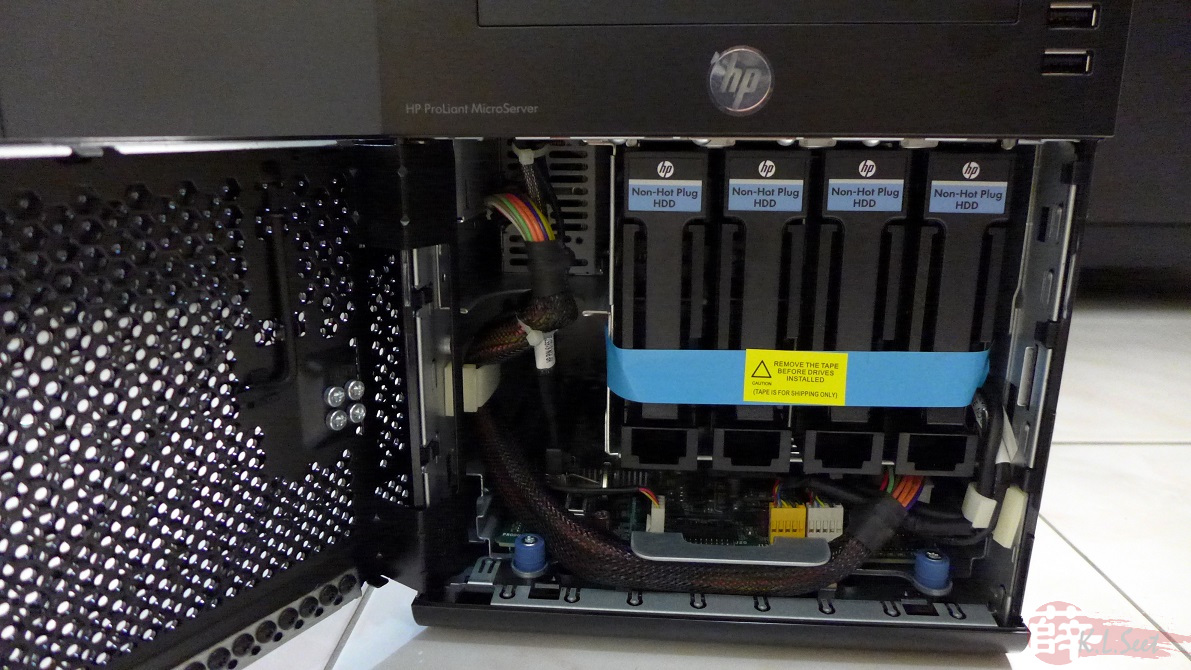
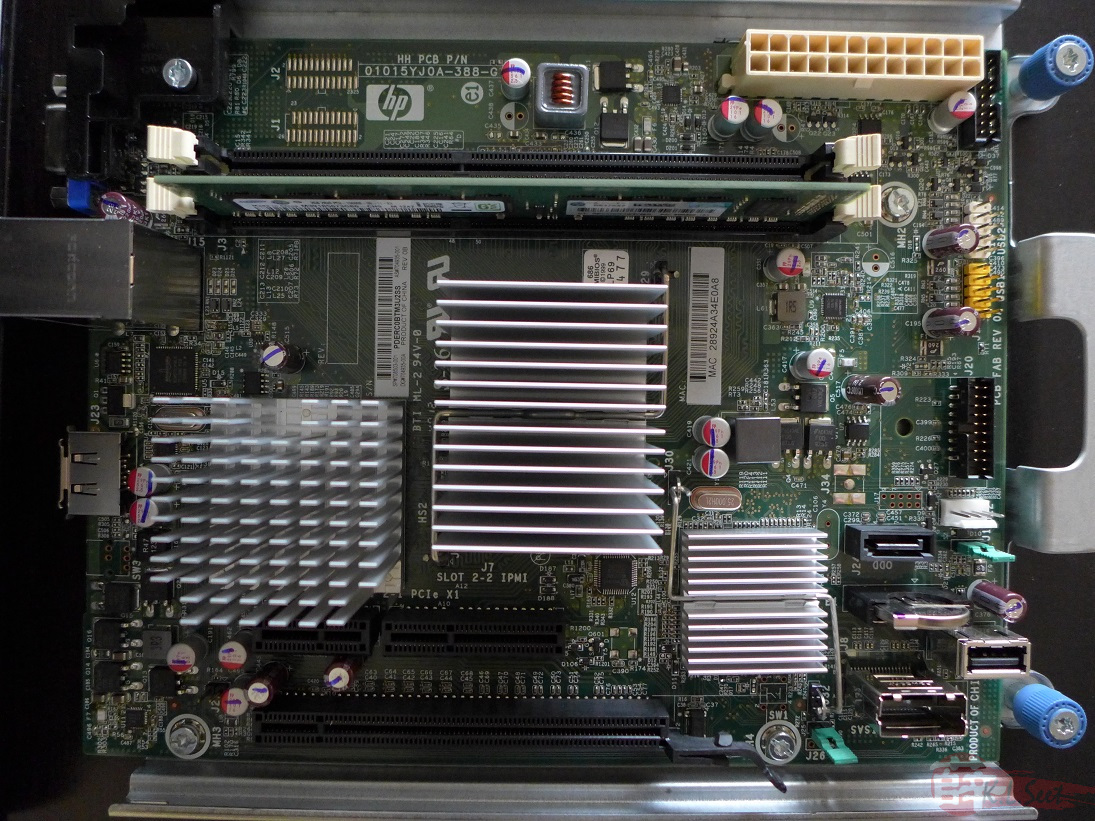
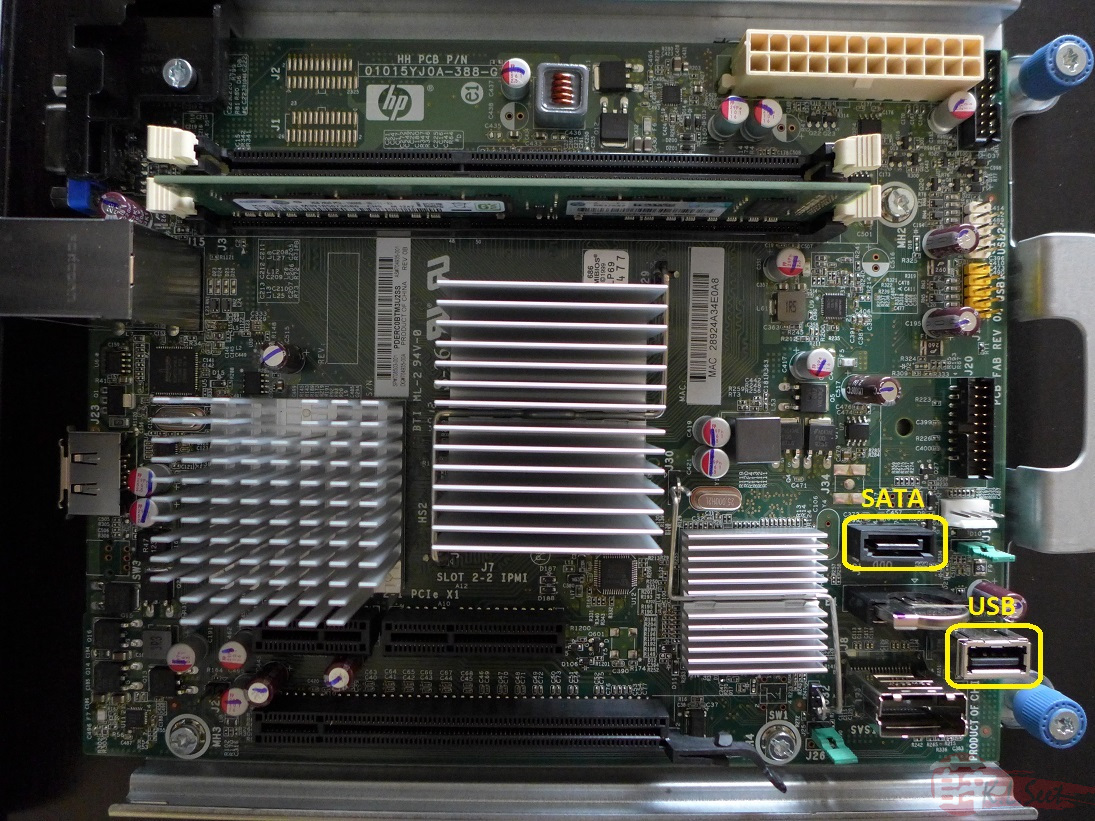
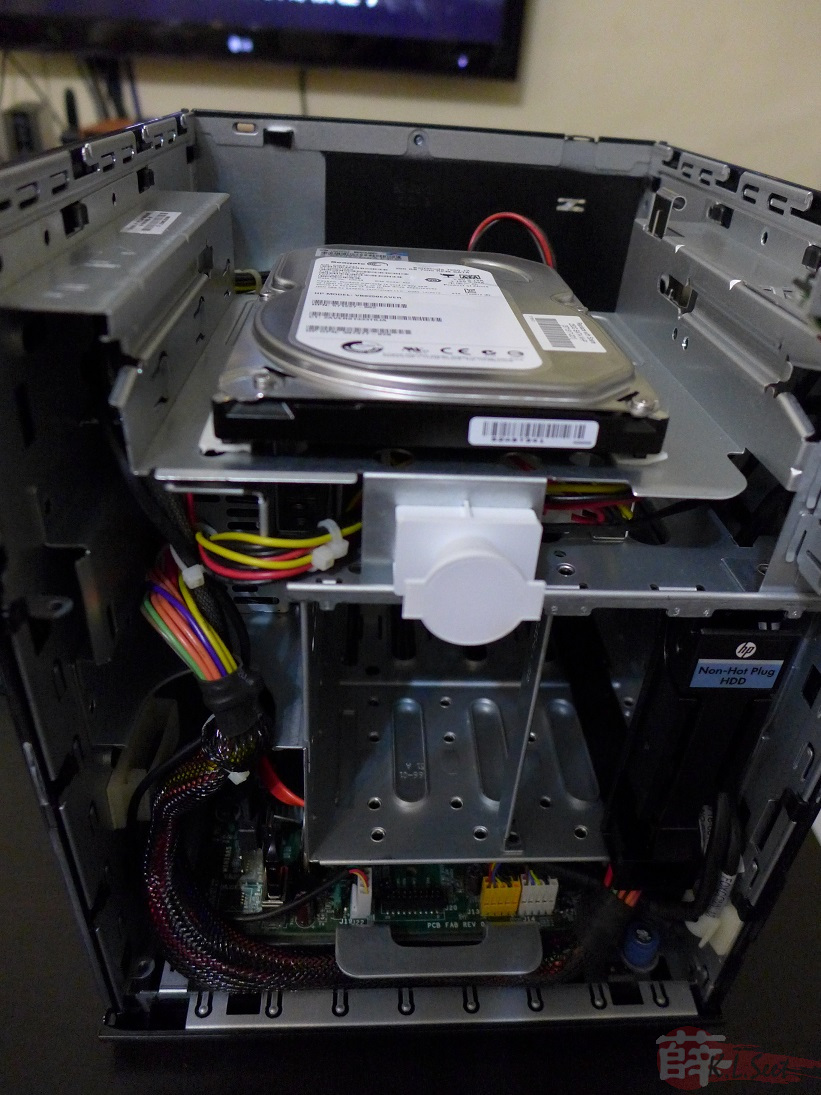
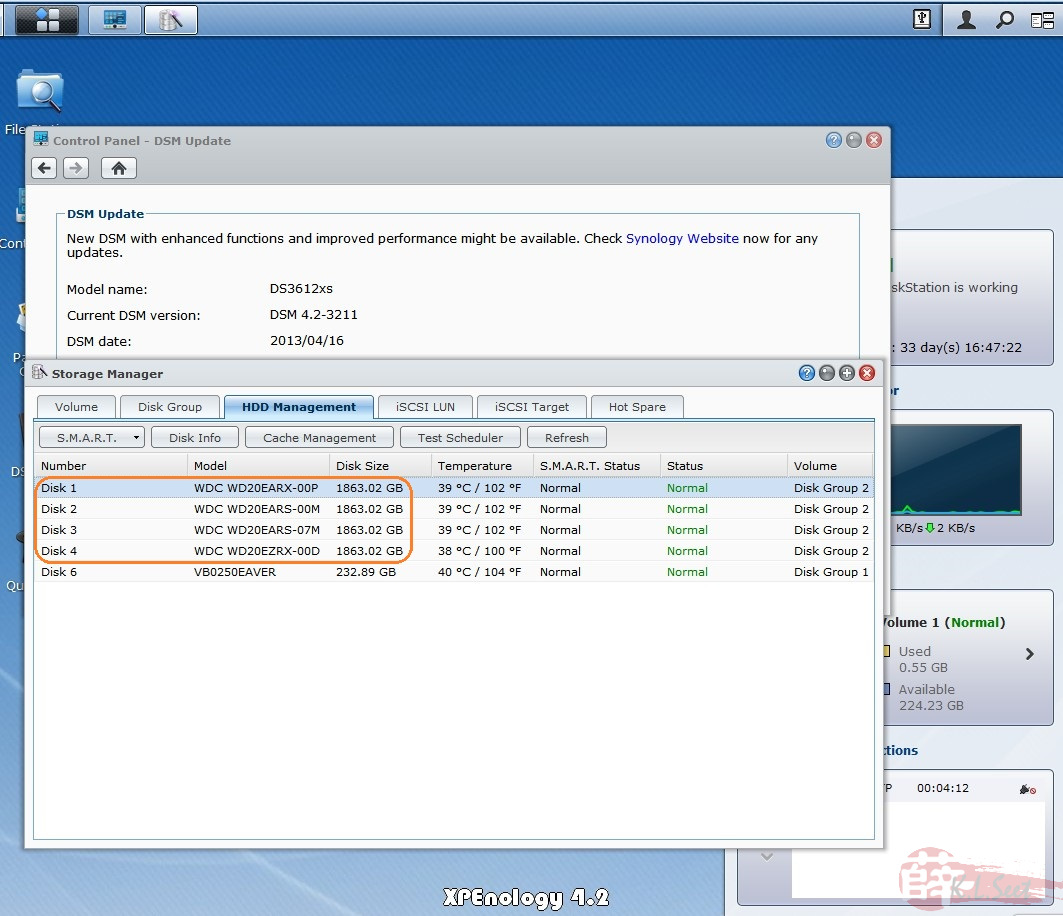
The N54L comes with a 250GB HDD & uses a bay, since I would like to use all 4 bays, I use the on-board SATA port and moved the original HDD to top tray.
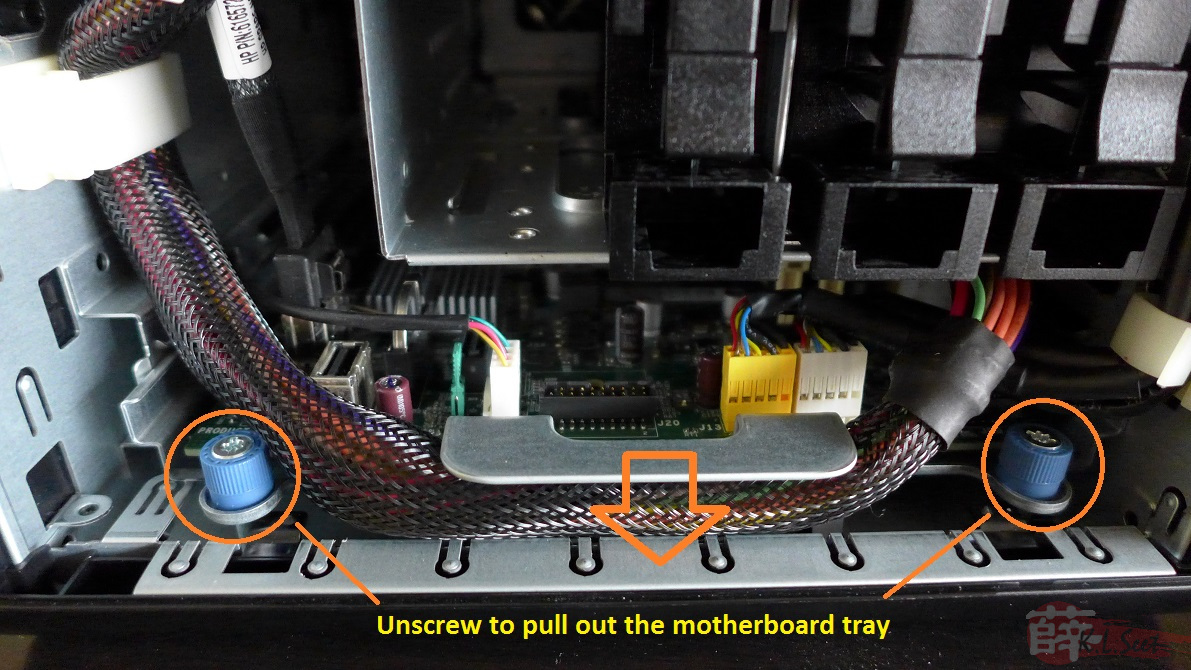
So I opened the device and locate the SATA port ...

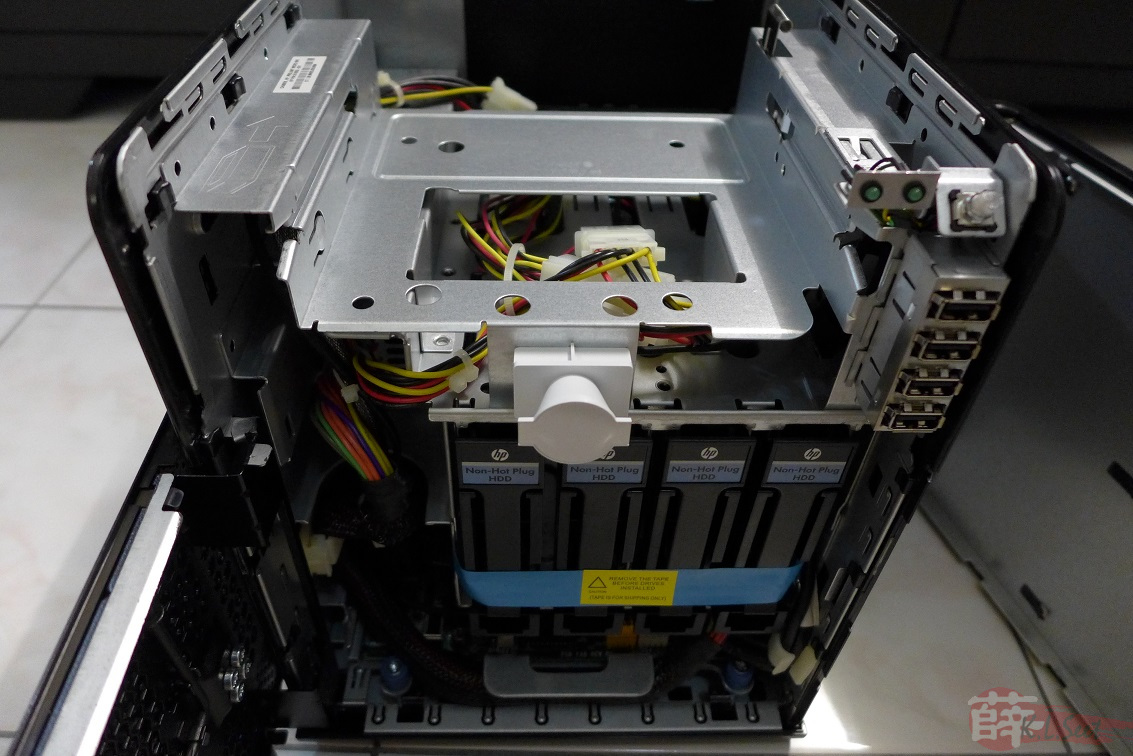
Noticed there is also a on-board USB slot, nice !
Moved the original HDD to top tray
Also insert the XPEnology bootup disk onto the on-board USB slot, looks nicer
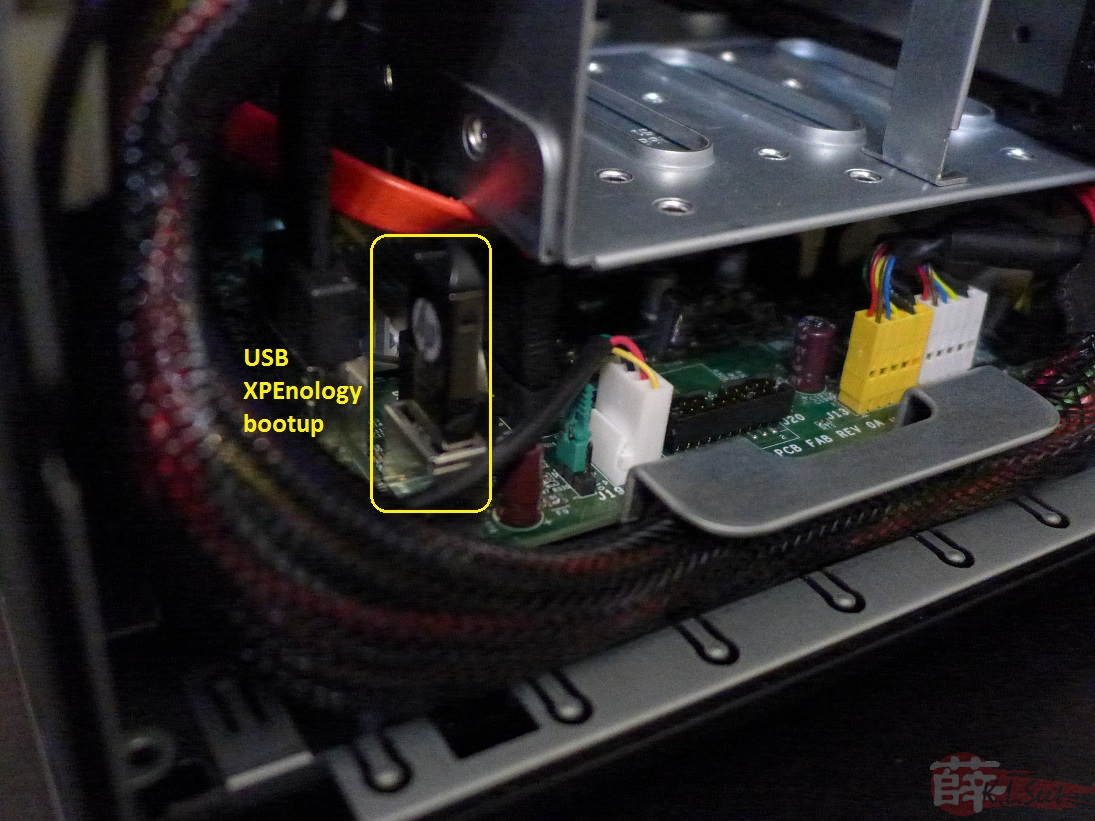
Alright, ready to bootup & install the XPEnology on the N54L
Once bootup and see the following "Attached SCSI removable disk" message, means it's ready to install ...

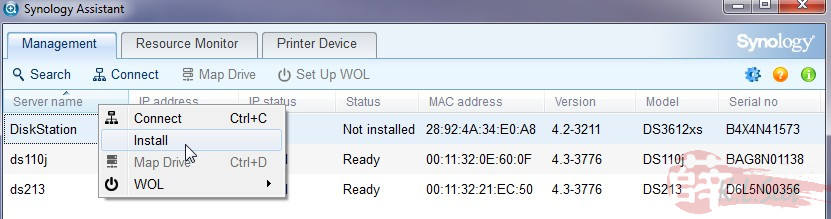
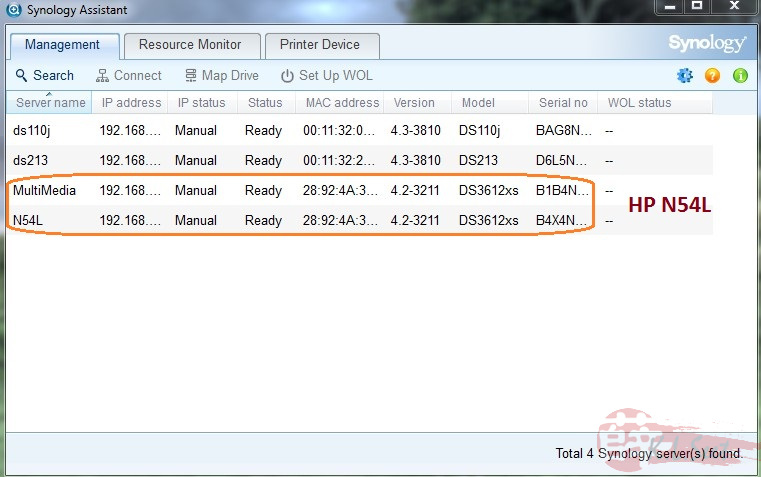
Back to PC, install the Synology Assistant software, start it to locate devices on LAN ...
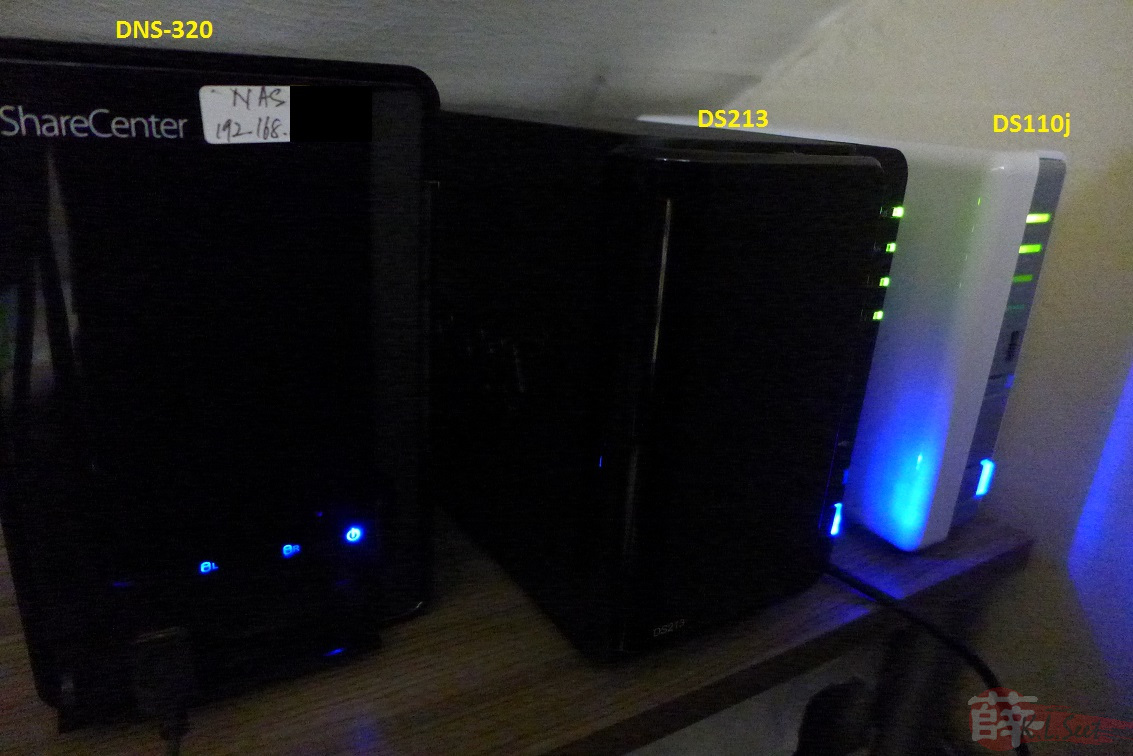
Noticed there is a "DS3612xs" device, means it's N54L (yes, I also have 2 original Synology devices, the DS110j & DS213 )
Right-click the "DS3612xs" to "install"
(IMPORTANT: unplug the USB bootdisk right before the installation !!)
Just follow the steps to complete the XPEnology installation, it will prompt you to re-boot, then plug-in the USB bootdisk again, otherwise it will not bootup !
Voilà, XPEnology on N54L !!!!
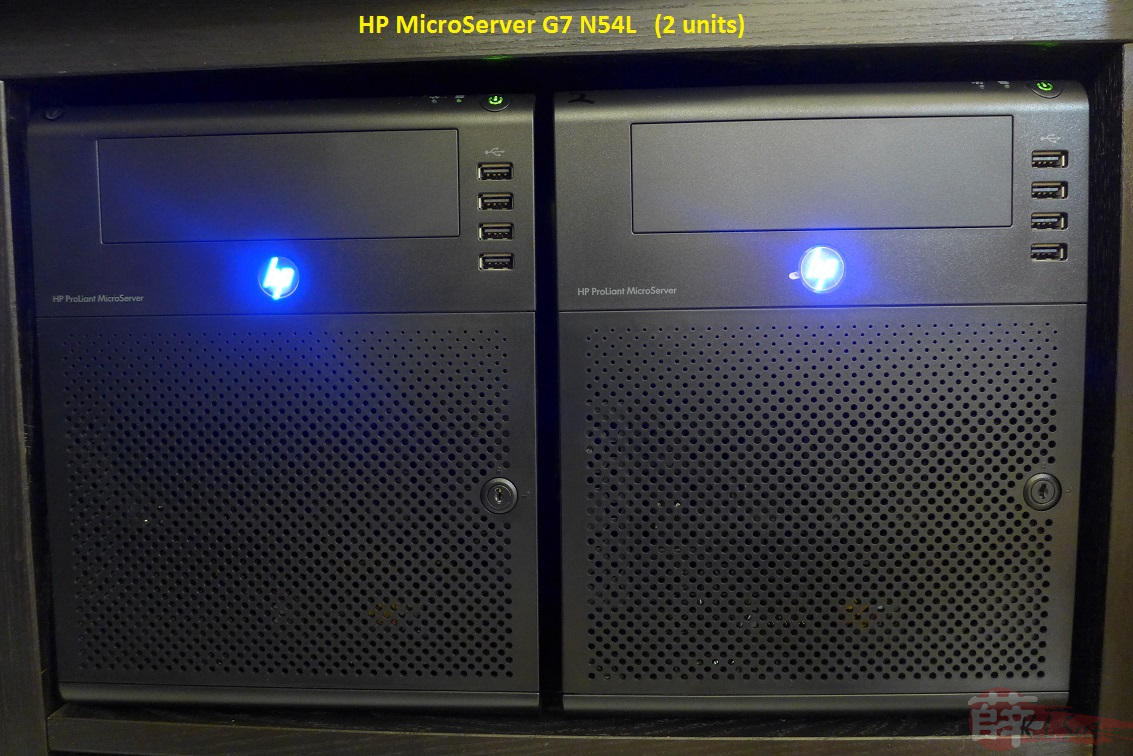
After my 1st N54L tested without much problem, I bought another unit a month later, so now 2x ori Synology boxes, 2x XPEnology N54L boxes to complete my home network
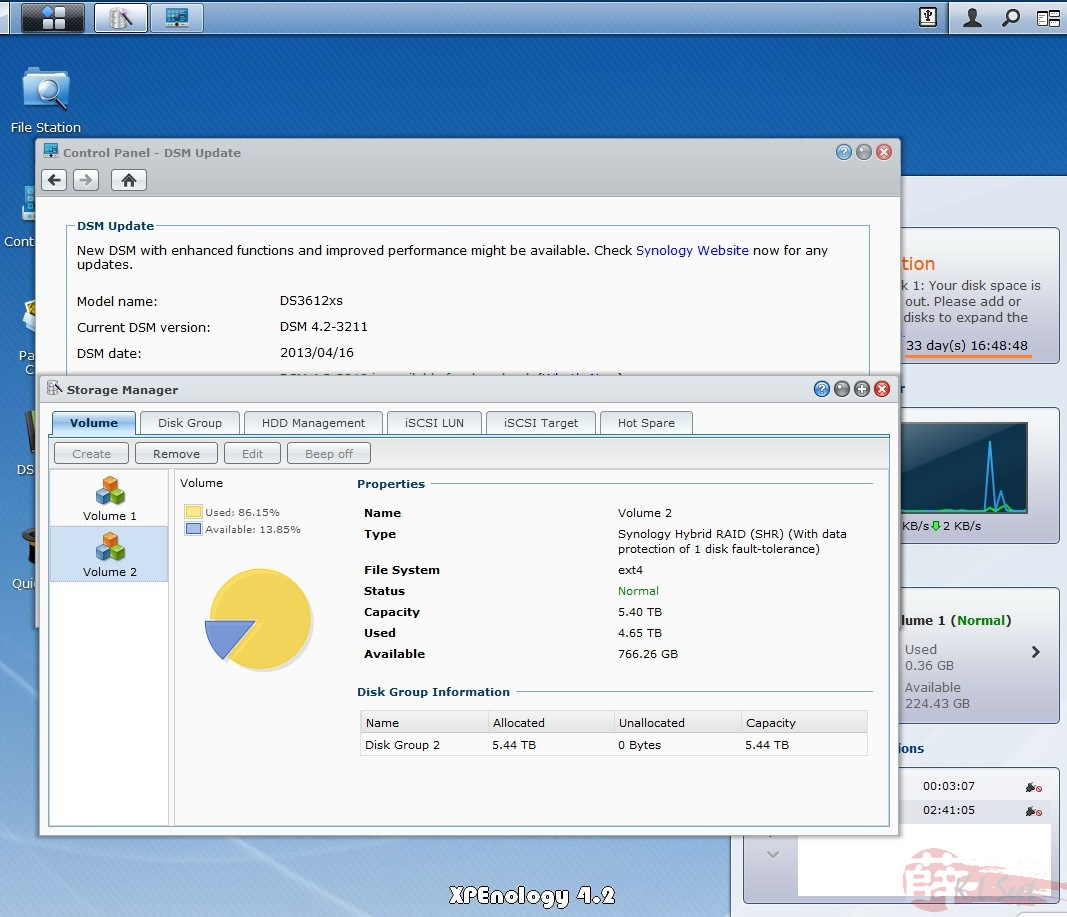
1 N54L unit is running on 4x2TB WD Green HDD with SHR
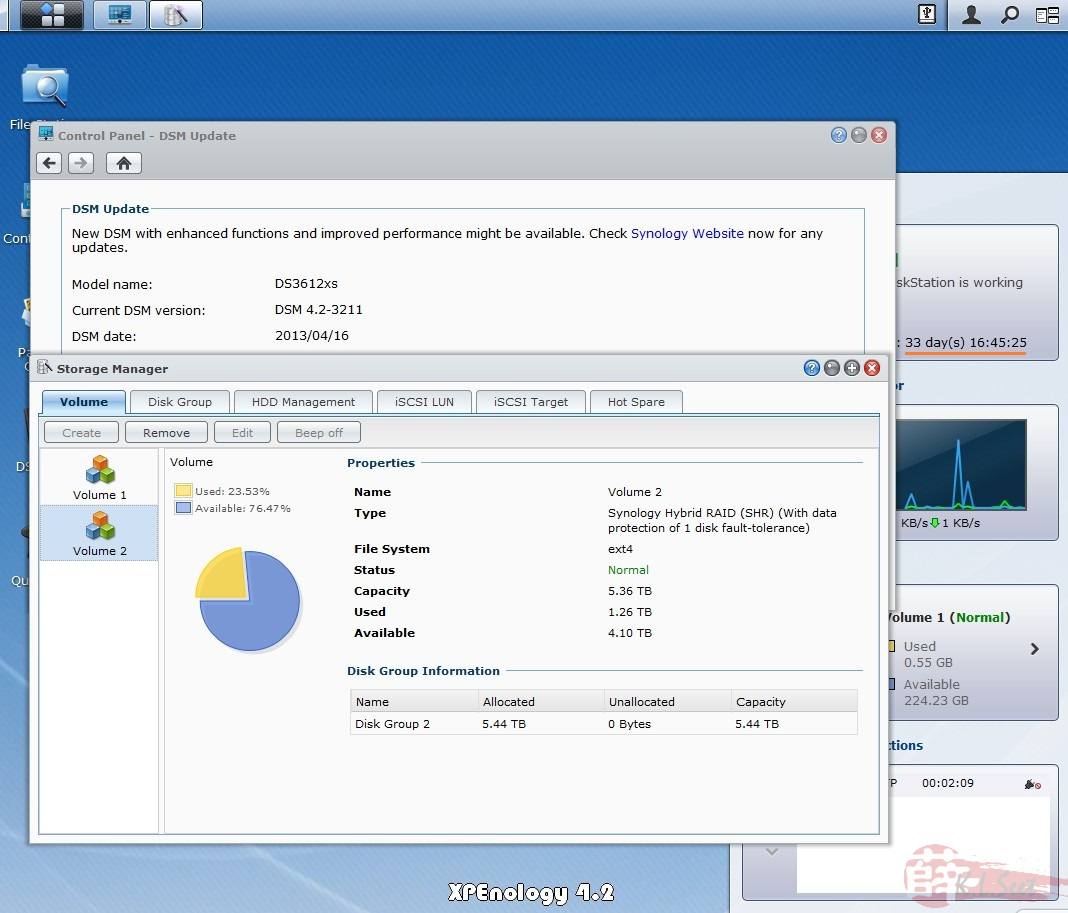
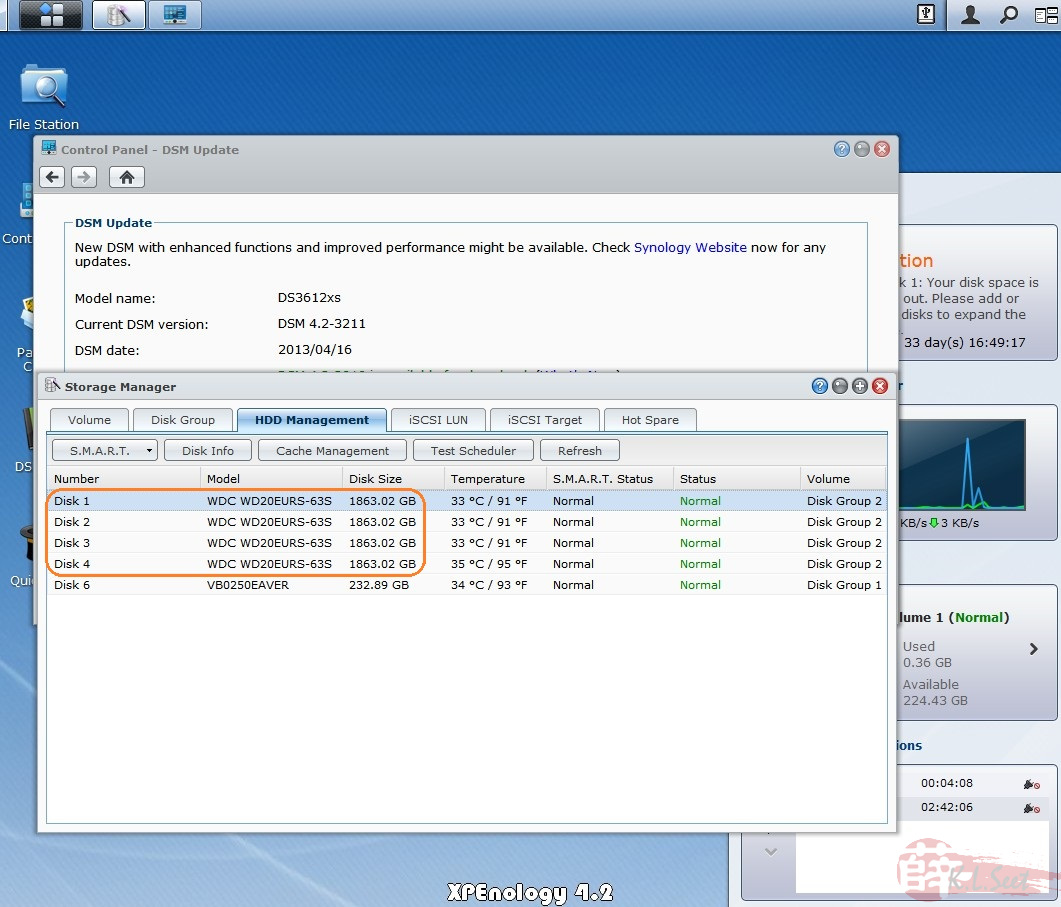
Another N54L unit is running on 4x2TB WD AV Drive HDD with SHR
21-Aug-2014 Update : Upgraded to current latest DSM5.0-4493-update3
.